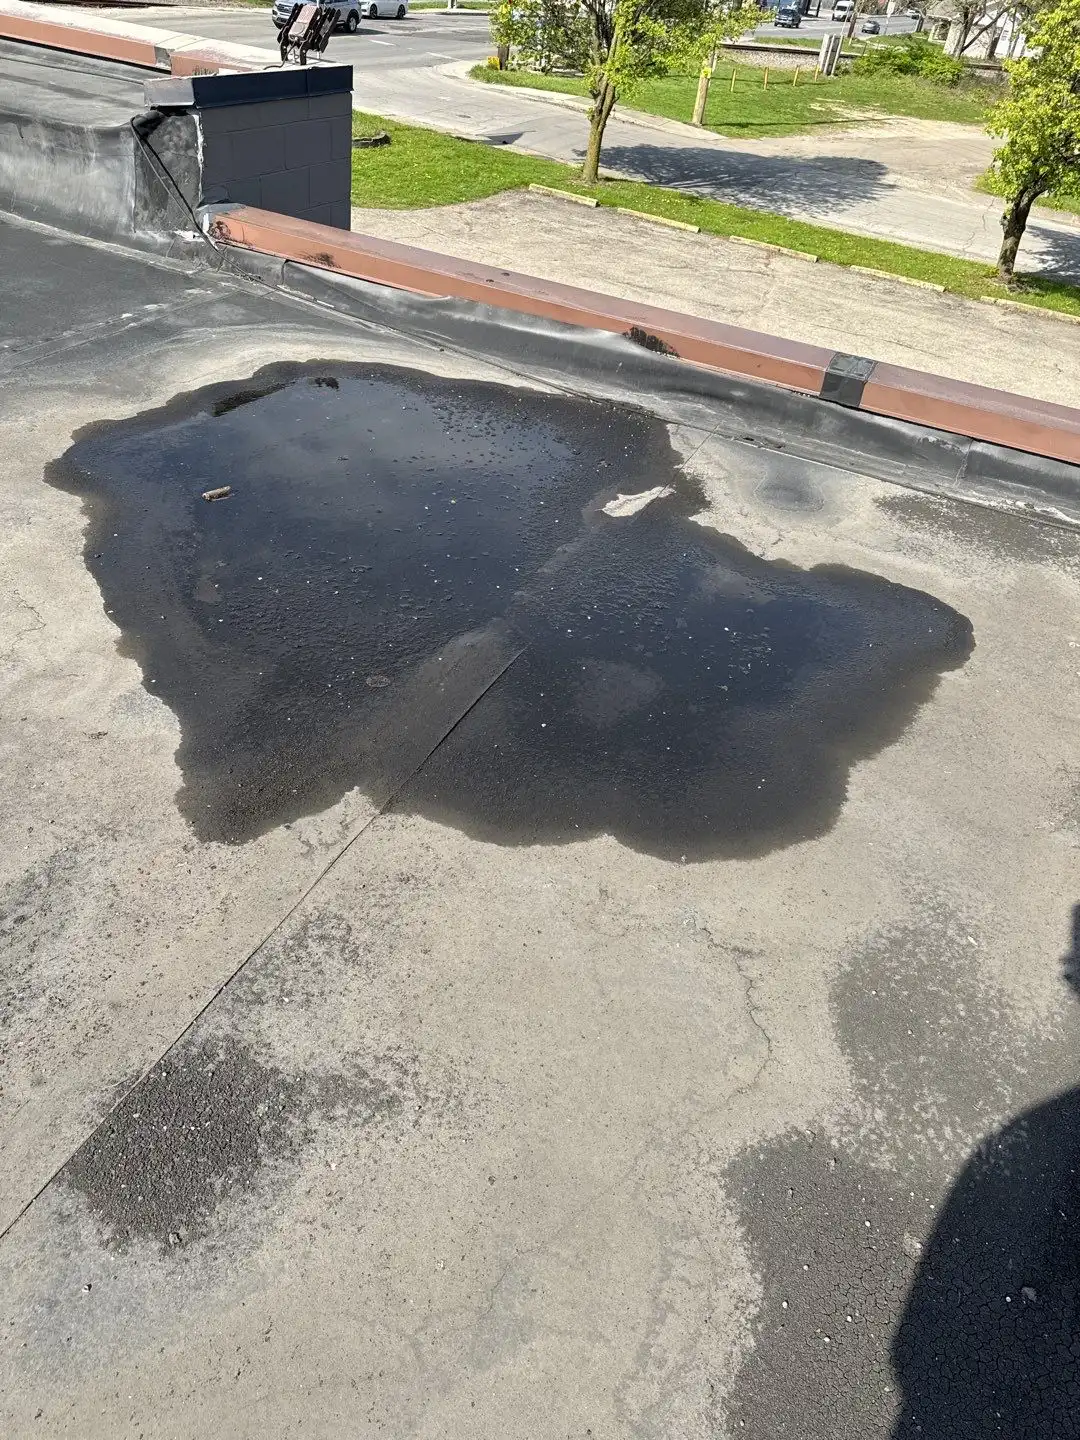
The 7 step EPDM Leak Response
Follow these in order. Skipping ahead costs money.
- Contain the interior leak first.
- Locate the entry point on the membrane.
- Assess the wet insulation below.
- Choose the right repair method.
- Address the cause, not just the hole.
- Document for insurance.
- Set a maintenance interval.
1. Contain the Interior Leak First
Before anyone climbs a ladder, protect what is inside.
- Move inventory, electronics, and paper files away from the drip zone.
- Place buckets and lay plastic sheeting over flooring.
- Punch a small relief hole in bulging ceiling tiles to drain water in a controlled spot.
- Photograph everything wet before you move it.
- Shut down power to fixtures directly under the leak.
- Pull ceiling tiles within a four foot radius of the stain to speed drying.
- Set fans on low to move air, not to spread contaminated water.
If the ceiling is already saturated, call for help. Our team handles the ceiling water damage and leak restoration side while the roof crew works above.
2. Locate the Entry Point
Water travels. The stain inside is rarely directly below the breach. On EPDM, check these failure points in order of likelihood:
- Seams between membrane sheets (especially older tape seams)
- Pipe boots and vent flashings
- Perimeter termination bar and counter flashing
- HVAC curbs and skylight curbs
- Drain bowls and scupper edges
- Field punctures from dropped tools, hail, or branches
- Splits at stress points where the membrane was stretched over a corner
- Lap joints near corners where three sheets converge
- Gas line and conduit penetrations added after the original install
A flood test or infrared scan finds what eyes miss. For a deeper look at locating entry points, our piece on roof leak origin detection versus repair walks through the diagnostic side.
3. Assess the Wet Insulation
Once water gets past the membrane, it spreads sideways through the insulation board. Wet ISO loses R-value and rots the deck.
- Probe with a moisture meter at the leak and three feet out in each direction.
- Cut a 12 by 12 inch test square if readings are high.
- Note whether the deck is metal, wood, or concrete.
- Flag any soft or delaminated boards for replacement.
- Check the underside of the deck for rust streaks or staining.
- Mark wet zones with chalk so the repair crew cuts only what is compromised.
Dry insulation that took on water last week is not the same as insulation that has been wet for two seasons. The longer it sits, the wider the cut area grows.
4. Choose the Right Repair Method
Not every fix is equal. Match the method to the failure.
- EPDM patch with primer and uncured tape: punctures, small splits, isolated field damage.
- Cover tape over open seam: seam separation under six feet long.
- New pipe boot with sealant collar: cracked or shrunken boots.
- Reflashing at curbs: lifted or torn flashing membrane.
- Liquid applied flashing: complex penetrations and tight transitions.
- Full recoat with acrylic or silicone: aged membrane with multiple small issues but sound substrate.
- Targeted membrane replacement: sections with wet insulation that need to come out and go back in.
5. Address the Cause
A patch fails if the underlying problem stays.
- Ponding water: add tapered insulation or a secondary drain.
- Foot traffic: install walkway pads to the rooftop unit.
- UV degradation: schedule a coating before the next summer.
- Mechanical movement: check fasteners and termination bars.
- Falling debris: trim overhanging limbs and add hail guards over fragile penetrations.
- Trapped condensation: confirm the vapor barrier is intact under the insulation.
6. Document for Insurance
Storm related EPDM damage is often covered. Build the file:
- Date stamped photos of the membrane and interior damage
- Local weather records for the event
- Moisture map of the wet area
- Itemized repair estimate
- Mitigation invoices showing prompt action
- Drone images that show the full roof plane for context
- A short written narrative tying the storm date to the first observed leak
7. Set a Maintenance Interval
- Twice a year visual inspection, spring and fall
- post storm walk after hail or wind above 50 mph
- Annual seam probe and sealant touch up
- Drain clearing before leaf season
- Sealant pail check at each pipe boot every other year
- Photo log kept on file so changes between visits are easy to spot
EPDM Repair Cost Ranges in Trader's Point
Costs shift based on a few factors worth knowing before you compare bids:
- Roof access (interior stairs and parapet ladder versus crane staging)
- Substrate condition under the wet area
- Number of penetrations within the repair zone
- Material lead time for matching membrane thickness (45 mil vs 60 mil vs 90 mil)
- Whether the existing membrane is ballasted, fully adhered, or mechanically fastened
Common Trader's Point EPDM Failure Patterns We See
Indiana weather puts specific stresses on rubber roofs. The repair calls tend to cluster around predictable issues.
- Freeze thaw cycles that open up old seam tape over the winter
- Hail bruising that shows up months later as a slow weep
- Wind uplift at corners and edges after spring storm fronts
- HVAC service techs who walk the membrane without pads and tear it on a fastener
- Bird and pest damage at pipe boots that have lost their factory clamp tension
- Sealant that has gone hard and pulled away from termination bars
What Our Crew Brings to a Trader's Point Repair Call
- Phone based severity triage so we send the right truck
- Infrared moisture scanning before cutting anything open
- EPDM-compatible primers, tapes, and uncured flashing
- Photo documentation handed to you and your insurer
- A written estimate with repair, recoat, and replacement options side by side
- Tarping and dry in prioritized for buildings with active interior leaks
- Coordination with Trader's Point Commercial Roofing restoration teams when the interior needs attention at the same time
The goal is simple: stop the water, dry the building, and give you a plan that fits the roof you actually have, not the one a salesman wants to sell you.
When to Repair vs Recoat vs Replace
- Repair: isolated damage, membrane under 15 years old, dry insulation, sound seams elsewhere.
- Recoat: membrane 12 to 20 years old, chalky surface, multiple small issues, no widespread wet insulation.
- Replace: membrane over 25 years old, more than 25 percent wet insulation, deck damage, repeated leaks at multiple locations.
Red Flags That Change the Plan
- Spongy feel underfoot indicating deck rot
- Mold smell inside the building below the roof line
- Visible daylight through the deck from inside
- Multiple leaks appearing within a single season
- Insulation that crumbles when probed
- Membrane that tears with light hand pressure during the inspection
- Standing water that has not drained 48 hours after rainfall
Any one of these moves the conversation from patch to plan. We will not sell a repair that buys you six months when honest replacement math is the right call.